Physically, the process of taking a photograph involves collecting light from the scene. The normal response of the camera to light is assumed to be linear: more light means a higher response, and the response to an incremental amount of light does not change as a function of the total amount of light. This is intriguing as it means that light originating from different sources is 'summed' in the camera, and that if it is possible to take identical photographs of a scene illuminated by different lights individually, the illumination of the scene can easily be digitally manipulated simply by summing the different images. However we can also go a step further and subtract unwanted lighting from a scene. This program aims to enable these types of manipulations. The idea was inspired by the article Synthetic Lighting for Photography by Paul Haeberli. While that article also includes ways to change the color of lights, such functionality is not included in this program as it can be done with relative ease in existing image editors (by adjusting color curves on the individual images).
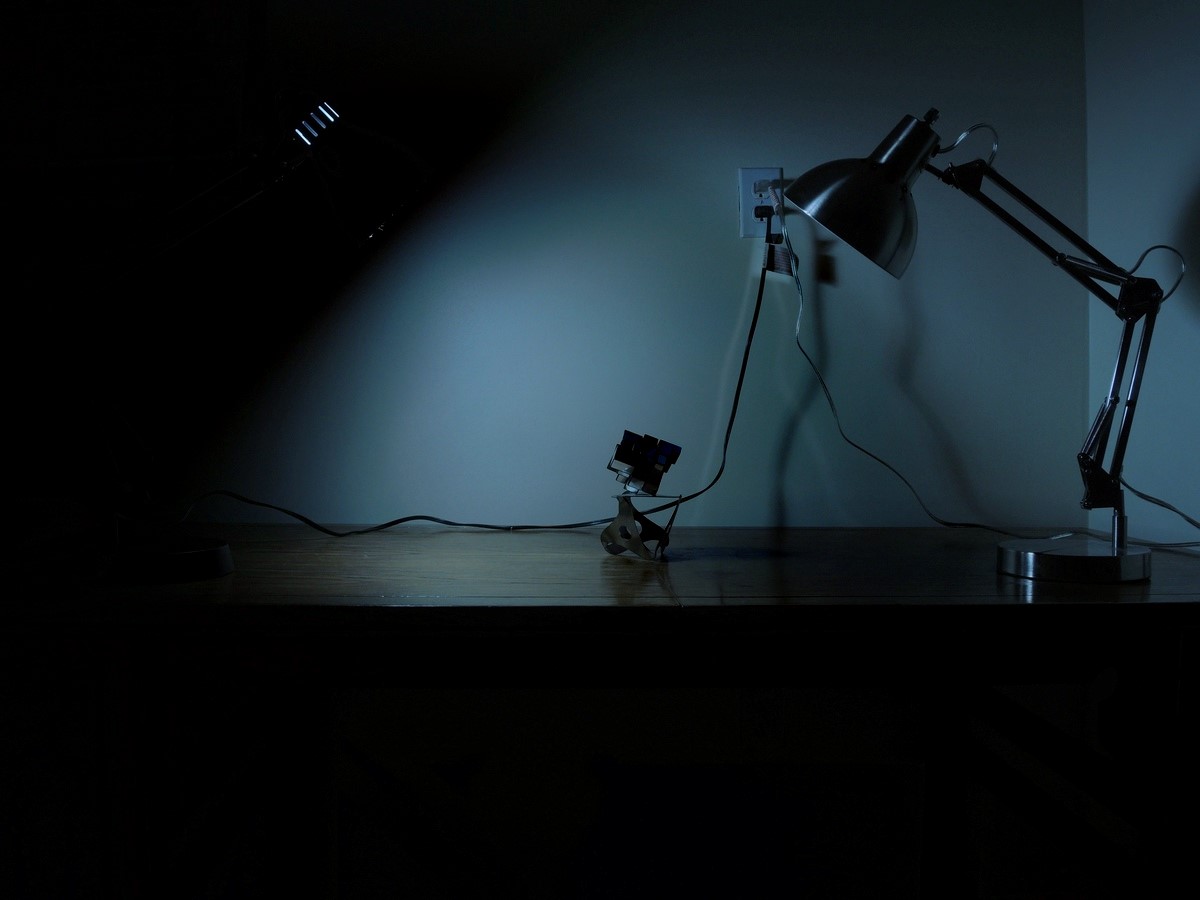
An example of the use of image adder, including background subtraction and a negative light source (from the lamp on the right - note the 'inverse shadow' of the wires on the wall).
The program operates largely through a click-and-drag interface. Internally it is based on the Image Straightener code, and even keeps the same namespace. We note a few limitations before starting:
As an example, we desire to create a scene of a cube illuminated by one lamp, with the other lamp acting as a negative light source, and with removal of background lighting from a nearby window.
Some tips may be of interest to effectively use this program. The photographs to be added must be taken from exactly the same location (and same zoom/focus settings) so that each pixel in each photo is of the same feature (the Image Aligner may be used to digitally align nearly identical photos, but the result will not be as good). It may be of greater physical relevance to also have the same shutter speed and aperture in all photographs. The way I completed these shots was to set the camera to time lapse mode so that a photo is taken every 30 seconds. Then I turned the lights on/off carefully so as to not disturb the scene, while the camera remained motionless. One photo should be taken for each controllable light source, in which that source is powered on and all others powered off.
Click the Load Image button to begin. If you have a background image, it must be loaded first. Otherwise, any image in the sequence can be loaded. The background image is taken with lighting that cannot be physically removed, such as that from external environment, with all controllable lights off. The background (first loaded) image is treated differently from all others: if the 'Background' checkbox is checked, the background image is subtracted from all other images in the sequence. Thus external lighting can be digitally removed. External lighting can still be added to a desired degree by adjusting the image intensity slider of the background image. If the 'Background' checkbox is not checked, the first image acts like all other images in its ability to be added or subtracted from the output image.

An image taken under external lighting from a window is loaded as a background image.
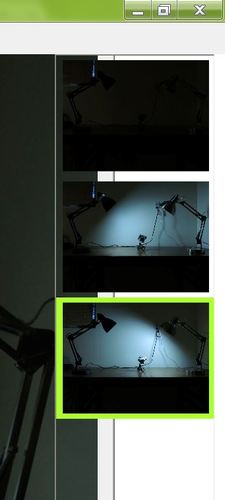
Continue loading images by using the Load Image button. The images show up in the list to the right of the window. Click on the small image in the list to load it in the large display area. While the mouse is over the small image, the mouse wheel may be scrolled to adjust the intensity slider on top of the window. This slider represents intensity of the selected (currently displayed/green outline in list) image contribution to the output image. It acts as a simple multiplication on the pixel values of the image, from -1 on far left to +1 on far right.
The same scene is photographed under two lights independently resulting in two photographs. These photographs are then loaded into the adder.
The loaded images will be added to form the output image. Each of the images is multiplied by an intensity value from -1 to +1, with a default of 0 (no contribution). The intensity value of the selected image is adjusted by using the slider in the top bar, or by using the scroll wheel as described earlier. Check the 'Calculate' checkbox to have a live display of the output image while adjusting the intensities (this may be slow for large images). Check the 'Scale' checkbox to force the output image to have at least one pixel (0, 0, 0) and at least one (255, 255, 255). The three colors scale simultaneously.
The algorithm here is rather simple. Given pixels at the same coordinate location in images 0, 1, 2...N as p0, p1, p2... and also the associated intensity values i0, i1, i2... we have, with background removal:
p_out=i0*p0+i1*(p1-p0)+i2*(p2-p0)+...And without background removal it is even simpler:
p_out=i0*p0+i1*p1+i2*p2+...The scale feature finds the minimum and maximum values of any color in the image, and maps that range to 0-255 by scaling all colors.
The executable is available here. The installer file (which will also install .NET framework if it is missing) is available here. The source code is available here and uses the AddedImage class.